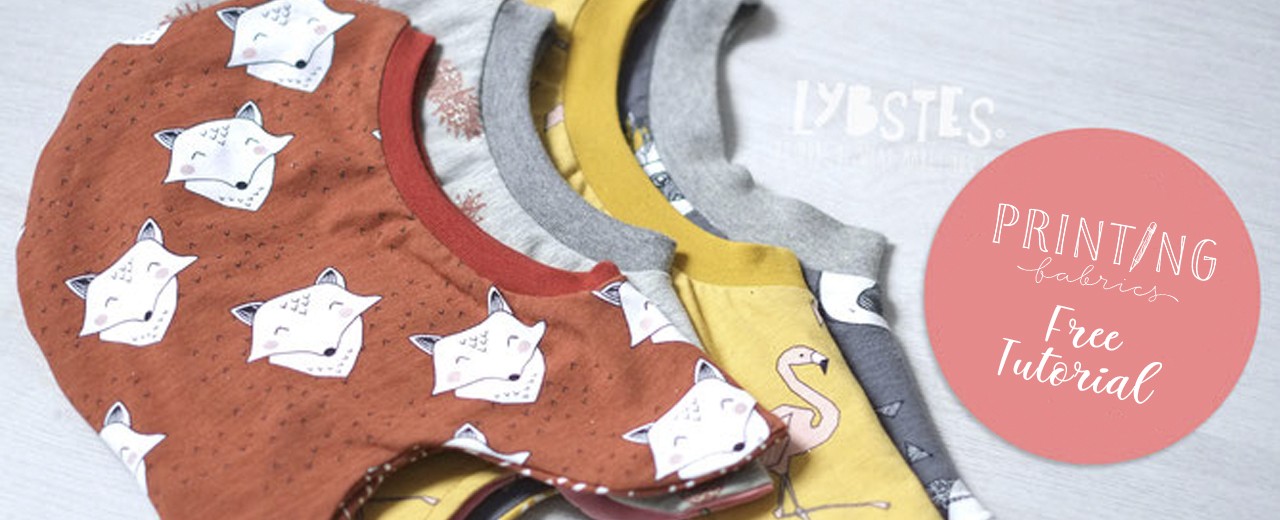
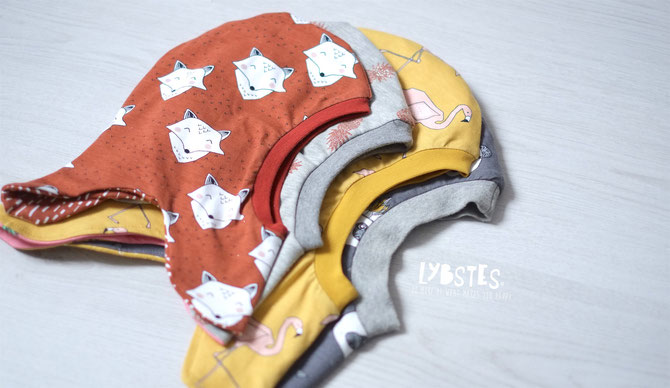
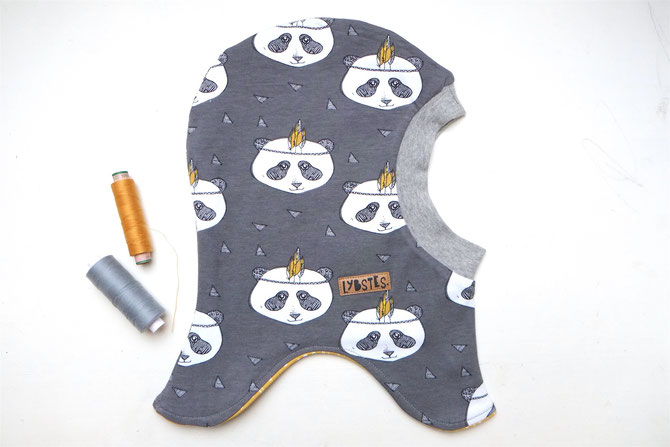
Reversible Baby Hat


Free Pattern: Download
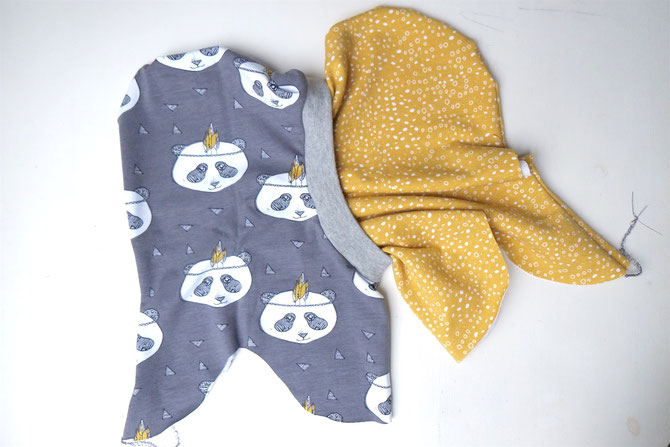
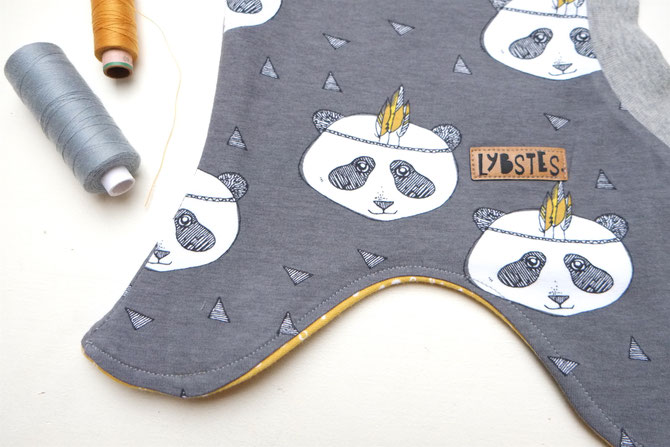
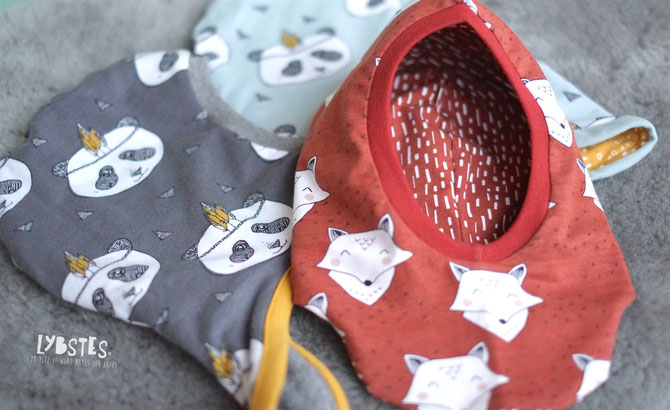
Fabrics Design : Click here
Choice the fabric: The cap should be sewn of jersey and (stretchable!) Sweat, so it fits best!
In freezing temperatures - the minky inner cap is recommended. But real "hotheads" will quickly get too warm! If the cap is also designed for milder temperatures, jersey (inside and outside) can be taken twice or it can even be sewn in one layer. It then turns out a bit bigger.
Fabric : It takes 35 cm fabric and cuff fabric for the neckline.
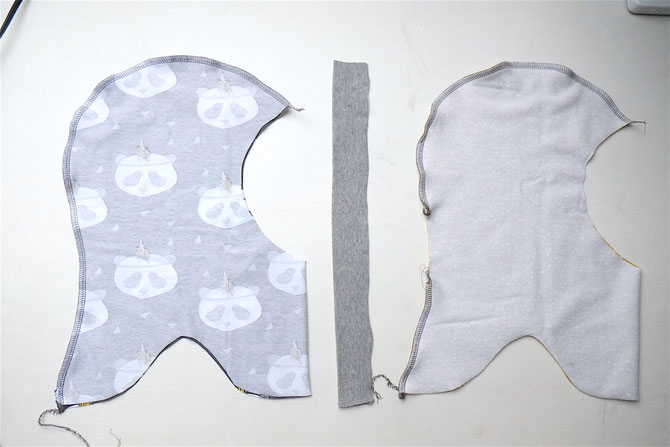
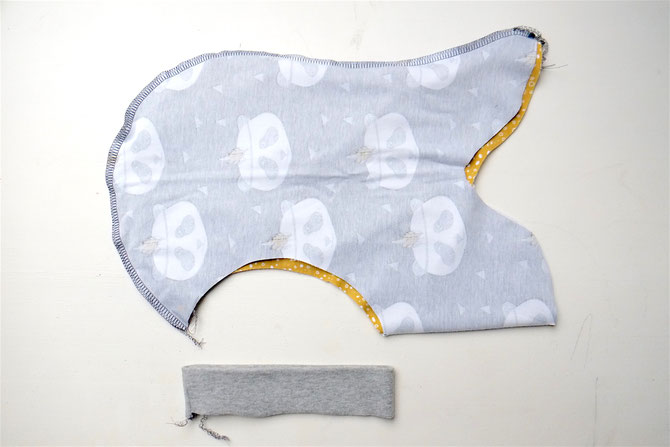
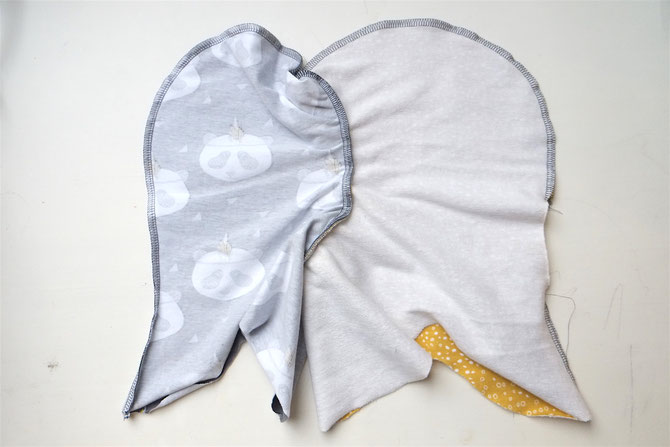
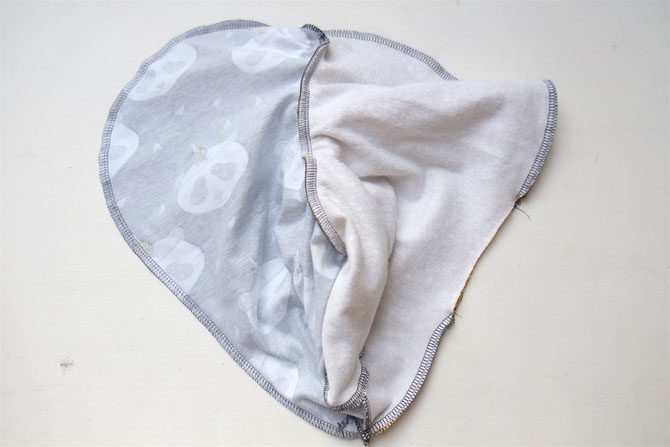
1. Cut all parts in the fracture. Put the cap parts right to the right and close the back of the head seam. For one of the caps at the back of the head leave a turning opening of approx. 8 cm. Mark the break line (at the neckline and at the face opening) everywhere with a marker or Knips! This helps later to be able to fit all parts together.
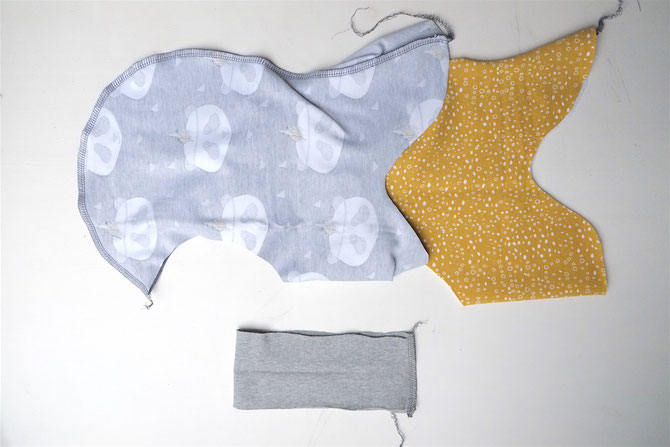
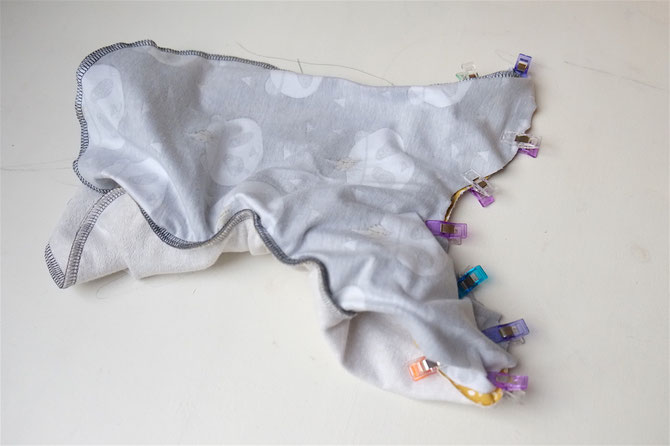
2. Turn one cap to the left and put it in the other. Put the cuffs for the neckline right side on right and close.
3. Fold the cuff left to left along the length and turn it upside down.
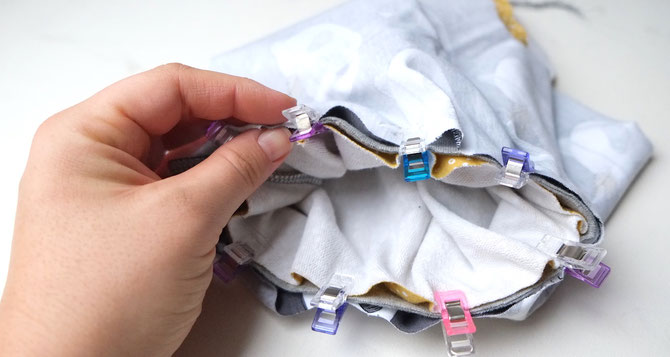
4. The cuff is now placed between the two cap parts. So that all seams as well as the marks for the break meet.
5. Stake everything. Tip: If you don't want to have the cuff seam visible on your forehead, you can also place the cuff so that the seam lies down (on the chin). This position isn't so present.
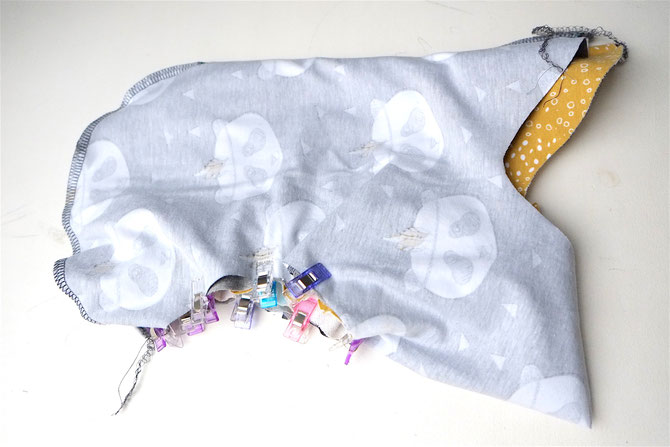
6. Sew around once. The cuff is stretched.
7. Check the seam and make sure all fabric layers have been sewn together. So you don't have to be annoyed at the end, when everything is already closed!
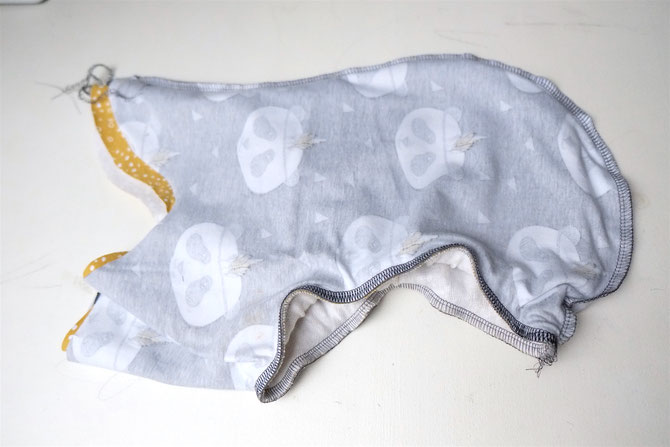
8. But to continue, everything has to be turned left again.
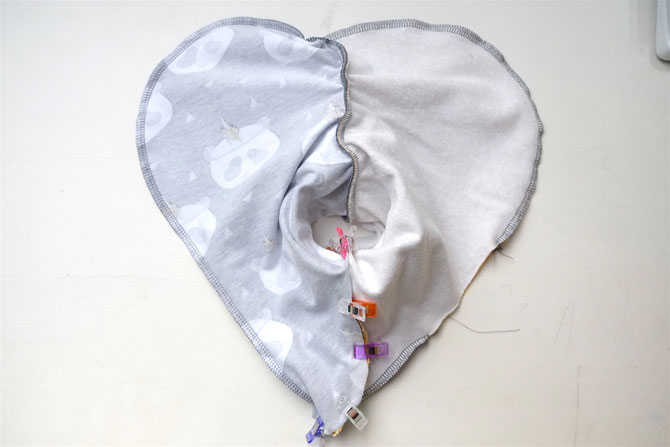
9. Now it's time to fall. Both ends of the occipital suture must be pinned right to right.
10. Put everything around it. Seam and seam meet, as well as the previously marked fracture lines.
11. It goes through the "tunnel" and out again. If you lay down your cap parts properly, you have a heart with a hole. Then everything was done right.
12. Close the cap parts around. It has to be sewn once through the "tunnel". If you catch up with the fabric again and again, it's no problem
13. Turn the cap through the turning opening. Now it just has to be closed. Either with the sewing machine or by hand.
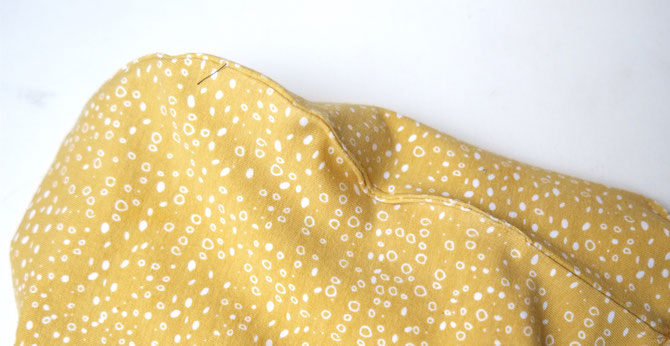
Close the turning opening with the machine: The opening is closed by a straight cut with a straight cut.
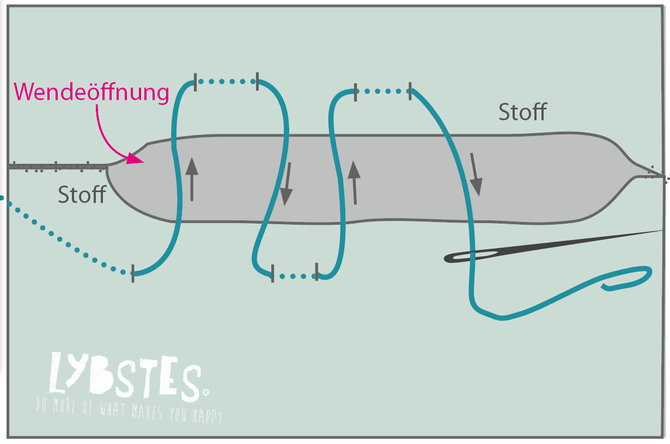
Close turning opening with needle and thread: You can also close the turning opening with the invisible mattress stitch. So the cap can be turned later without visible seam. At YouTube there are some videos for "mattress stitch" or "magic stitching".
15. Iron before quilting! For upper thread and lower thread select color-matching threads and sew along 5-7 mm from the edge with a wide straight stitch. Test quilting beforehand. Not all sewing machines get that well. If it is wavy, maybe loosen the thread tension a bit. Otherwise, it is sufficient to iron the seam properly smooth.
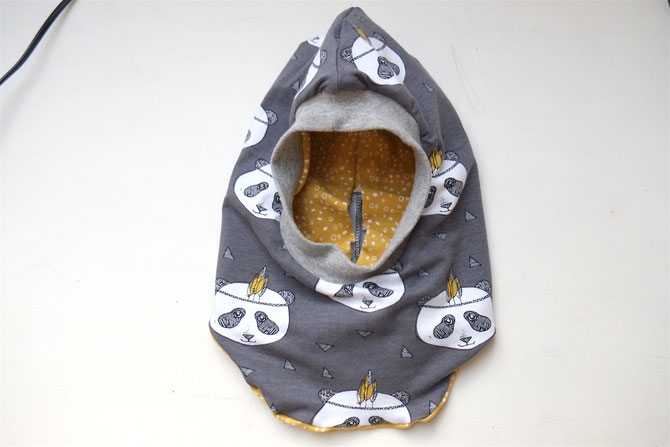
The reversible hat with a dropped seam is ready!
Patrón Gratuito: Descarga
Ver Telas Estampadas: Pulse Aquí
Personalizar Tela: Pulse Aquí
Related posts

New post

DIY Christmas Reindeer With Plaid Fabric

New post

DIY Gnomos De Navidad - Manualidades con Tela - Christmas Gnomes Tutorial

Calabazas de tela sin coser DIY

Sewing Tutorial - Laptop Sleeve

How To Make A Rapport - Design Your Fabrics With Printing Fabrics

Make your Fabrics come true with Printing Fabrics!

“Una buena mascarilla textil protege, es más sostenible y ayuda a la economía local”